Whatever version of Windows OS you take, it certainly comes with an extensive package of nice fonts suitable for any occasion. For the vast majority of PC users, the standard range of fonts is more than sufficient. However, some people want their texts to look unique and creative, and so they download additional fonts from the Internet.
While surfing the breadth of the web, you may encounter a good number of quaint, eye-candy fonts. Read below if you’d like to know how to download them. Once you install the font of your choice on your Windows 10 computer, you’ll be able to use it in various programs throughout the system.
Is it even possible to install unoriginal fonts in Windows 10?
All versions of Windows OS have always had an easy and convenient option for introducing one or several third-party fonts. The rule applies to the present-day Windows 10 as well. When it comes to visual styles, the user faces the need to change or substitute the original system files. But there’s no such hustle when you want to introduce unoriginal fonts into Windows 10. If you make use of some convenient third-party tools, you can even install the desired fonts in a blink of your eye.
Where do you find new and creative fonts?
The breadth of the Internet will kindly offer you very many website from which you can obtain a single font or a font package without violating copyrights. A fine example is Google Fonts. If this option is of interest to you, have a look through a detailed guide on the installation of Google Fonts on a Windows PC.
Another destination in your search for quaint fonts is FontSquirrel. Keep in mind that when you decide to obtain a package of fonts from an unfamiliar website or directory, it’s highly advisable to scan the downloaded content for viruses. Alternatively, you can scan the URL before the download even begins. There are free services designed for this purpose, such as VirusTotal.
Below you will find three fail safe ways to install new creative fonts in Windows 10. Follow the step-by-step instructions.
3 methods for the installation of unoriginal fonts in Windows 10
Option 1
The first and simplest way to install unoriginal fonts
1. Download either the desired single font or the font package.
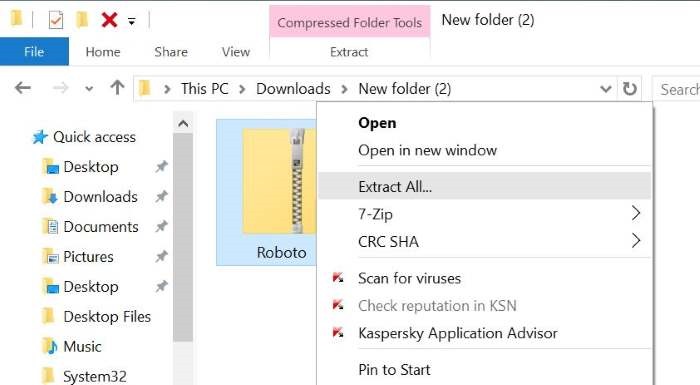
2. If the files containing the fonts are archived, you should extract them to any preferred location.
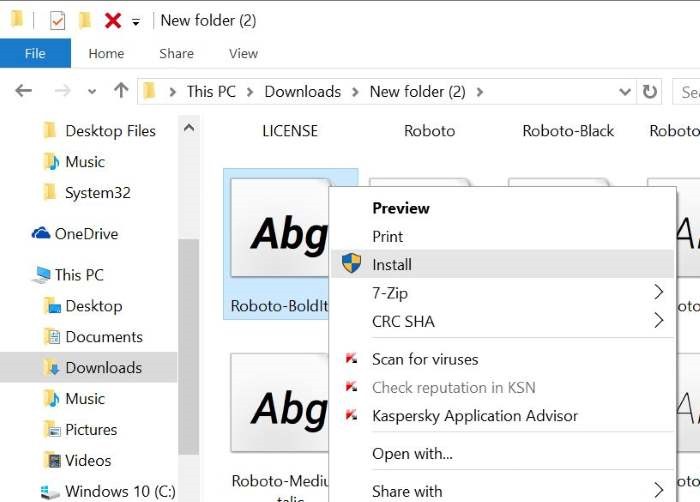
3. Right-click on the desired font. Select the Install button. If you need to install several unoriginal fonts, you should repeat this simple procedure for each of them.
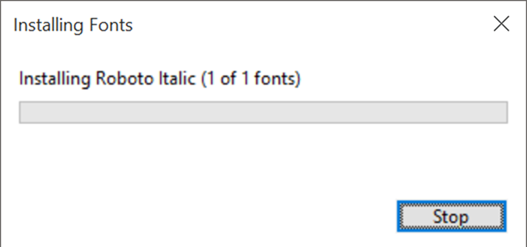
After the installation process is completed, the font appears throughout your system. This means, your new creative font will be available in all programs, such as Paint or Word.
The second available way for the installation of unoriginal fonts in Windows 10
Step 1. Extract the desired fonts from the respective achieved files. Save the fonts at any location of your choice (for example, on the desktop).
Step 2. Copy the desired font files. Paste them to the Windows\Fonts directory. You can find it under the drive your OS is installed to.
When your desired fonts are copied to the said directory, it will install them in your system and you will be shown corresponding messages. As soon as the installations are complete, the new fonts of your choice can be used in all programs.
Option 3
To help you manage the original and user-installed fonts on your PC, you can download a program developed by a third-party for this very purpose. A good choice would be one of the following apps: Nexus Font, Font Frenzy, AMP Font Viewer.
How do I uninstall a certain font in Windows 10?
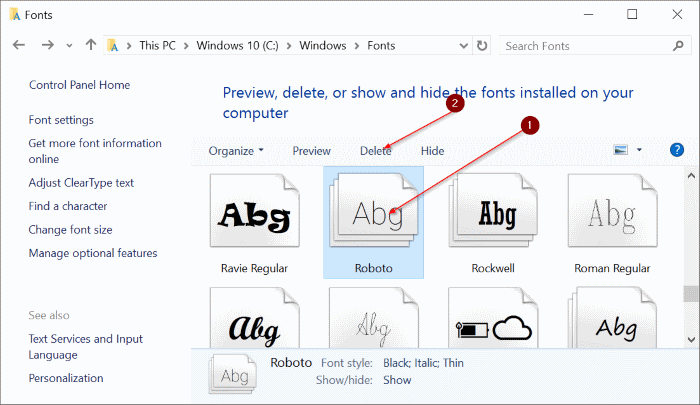
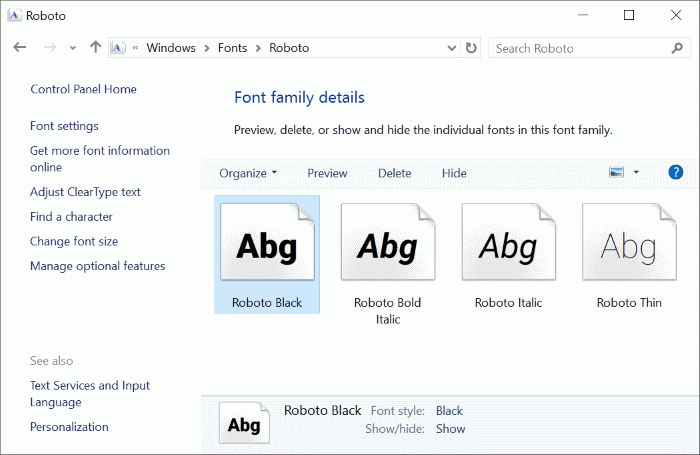
If you’ve decided to uninstall one or a handful of fonts, below are the direction for you to follow.
